So recently I embroidered and made from scratch a pair of garden inspired overalls. It took me a while to embroider all those flowers and vines and it came out beautifully. So I decided to make a matching bow clip to complete the look.
So let’s start with the supplies. Most of which I have provided links on Amazon for you.
DMC thread https://amzn.to/3uRfPkY Amazon
Embroidery hoops https://amzn.to/3Idh8Oe Amazon
DMC Embroidery needles https://amzn.to/3SYNSjw Amazon
Ginger sewing scissors https://amzn.to/3SStPCZ Amazon

1/4 yard of fabric color of your choice ( I found that solid colors looks best when embroidering)
Embroidery thread in the colors of your choosing. I used whatever I had on hand.
Scissors, coordinating, sewing, thread, embroidery, needle, embroidery hoop (A 10 inch hoop will work) and a hair clip. All of which can be found at Joans or Hobby Lobby.
You can either, so this by hand or by machine. Since I am lazy, I will be using my machine.
So started by outlining my pattern on my fabric. So just cut printer paper to make the pattern.
Square #1 measured 4.50”x 4.50″ cut on fold cut 2
Square #2 measured 3.50″long 1.50″wide
Square #3 measured 9.50″ at the top and 6″on the bottom and then I just connected the two ends to create the point. Cut 2.


Once the outlines are done. Now comes the design. Any time I am embroidering a design I like to use Stick and Stitch. I can hand draw my designs, stick them on my fabric and embroider over top of them. It is water soluble so it just rinses away with warm water.


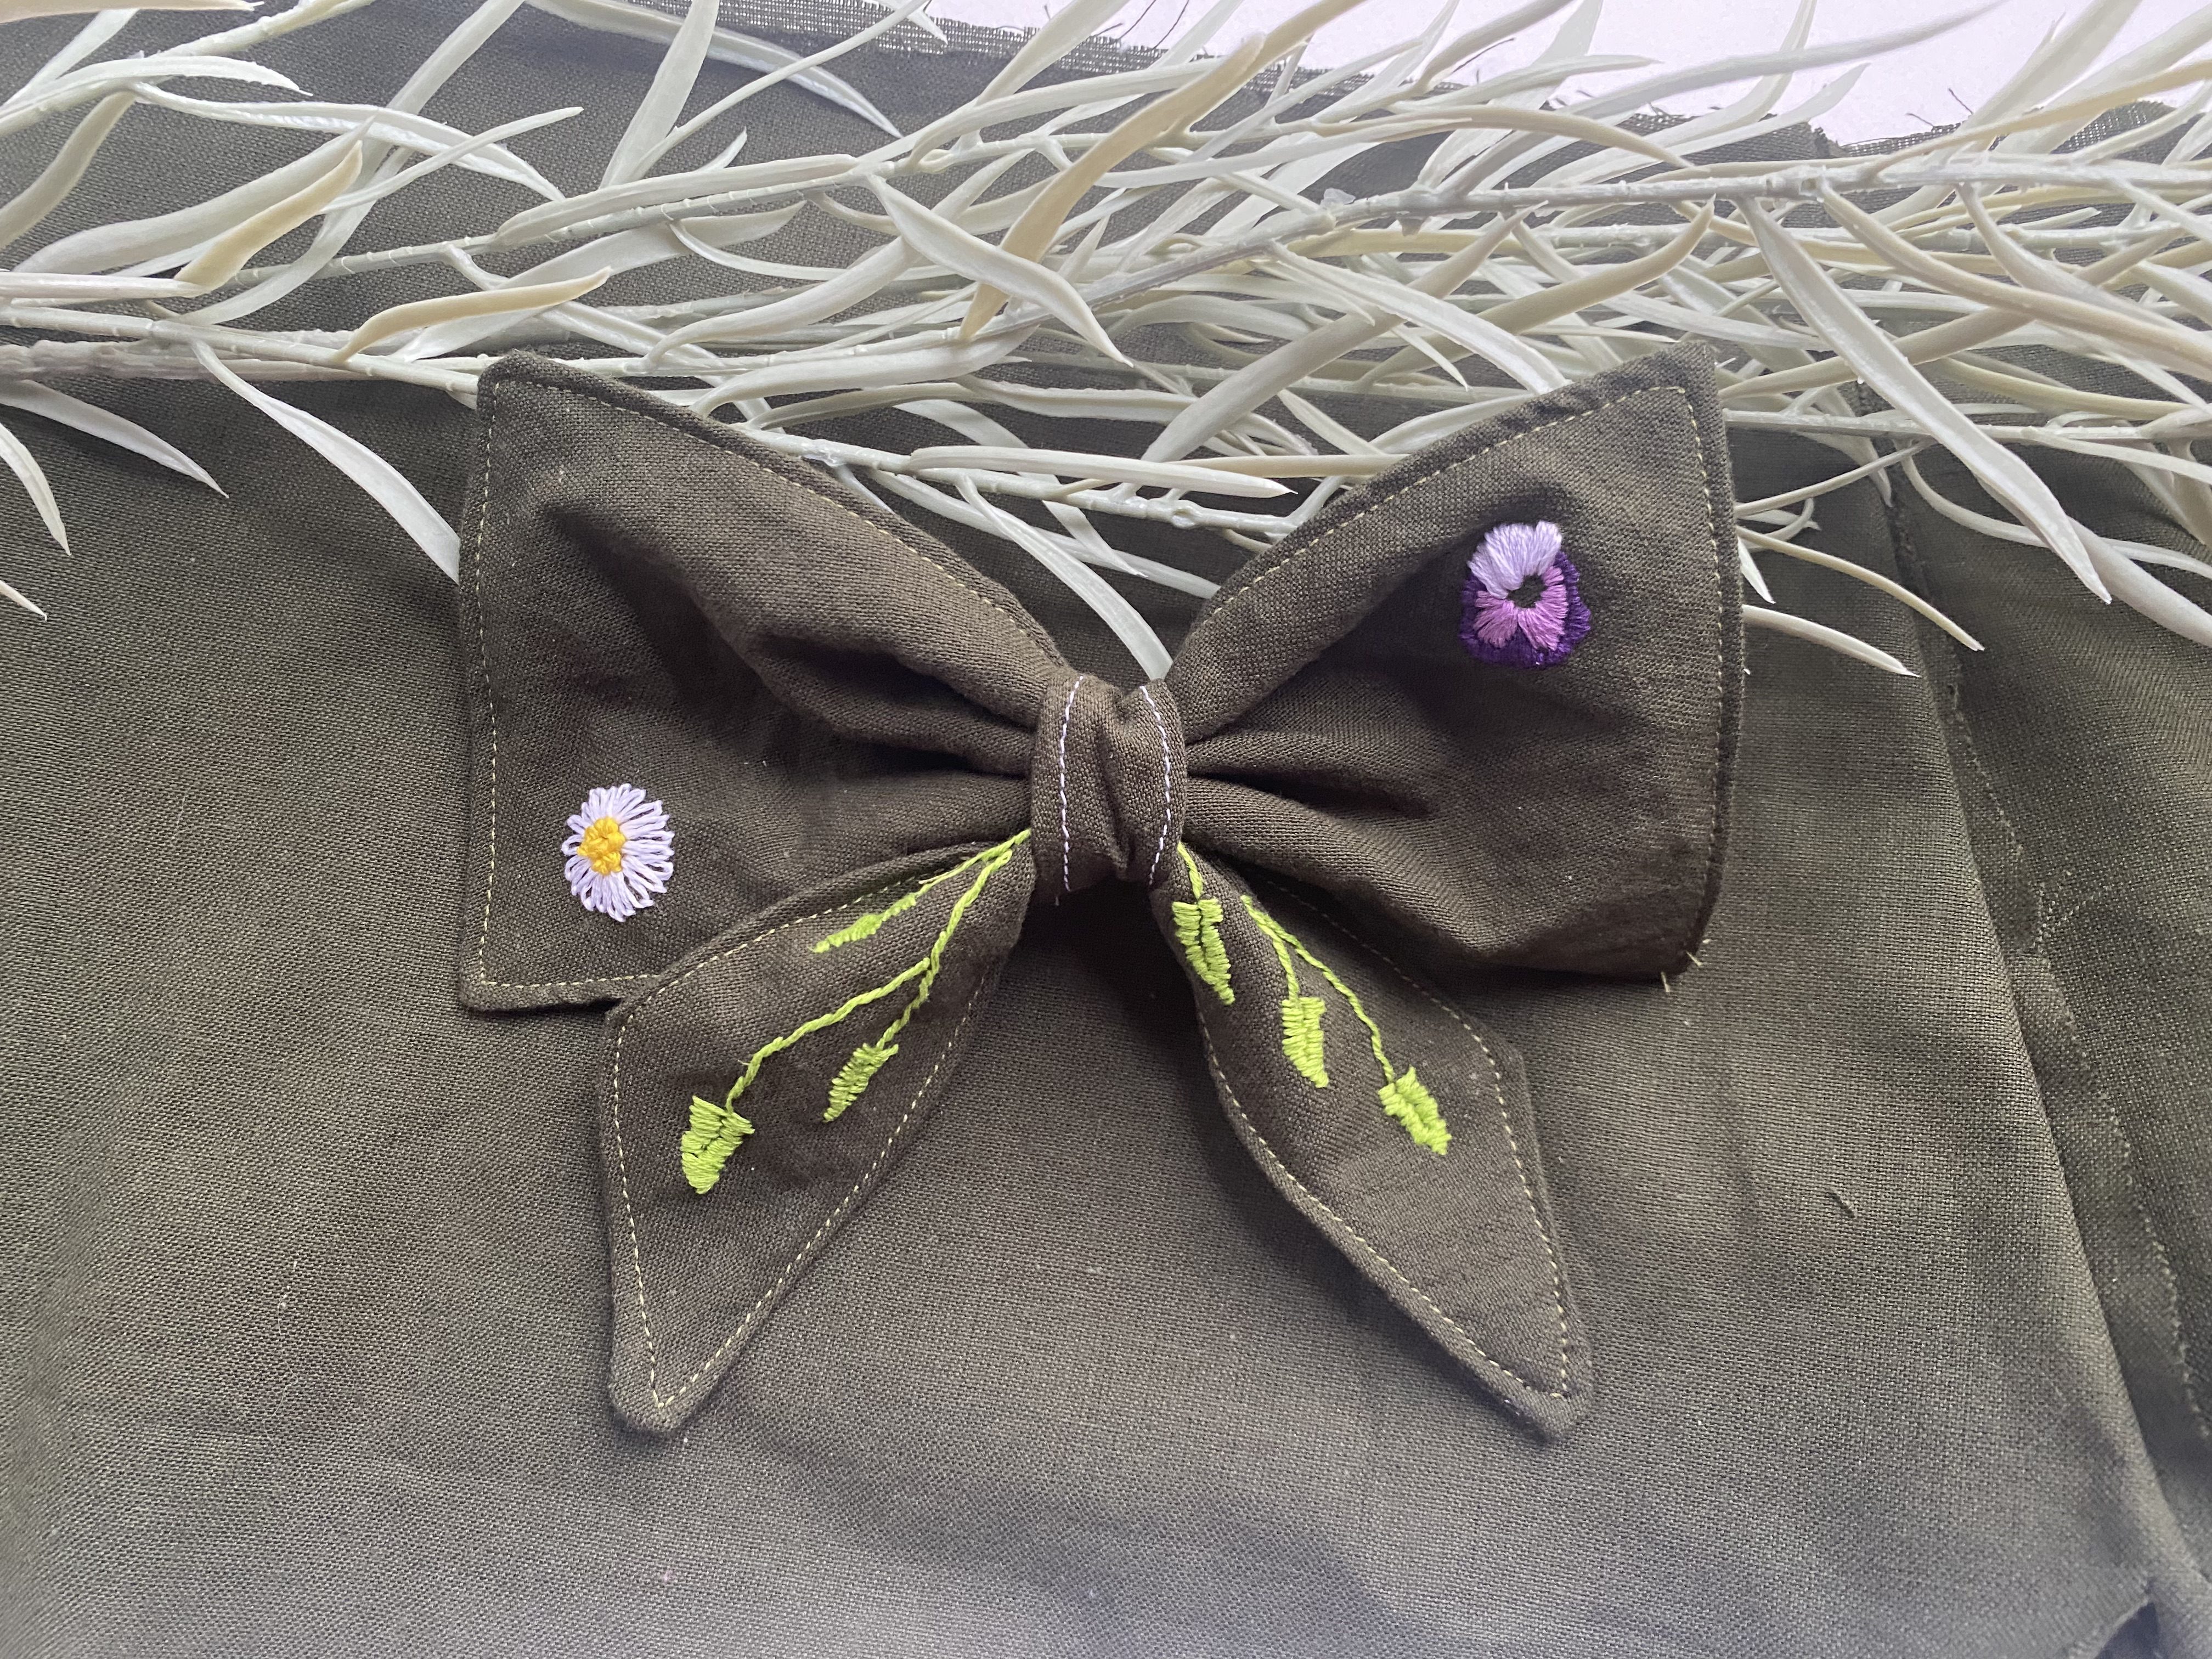
Draw you design. I chose to match the overalls I had already made and continued the design with daisies, pansies, and vines.

Now cut around your design leaving about a half an inch around it and stick them on your trace out pattern how you like.

Now let’s have some

I steered on the stems. Coming up from underneath the hoop make even basic stitches until you reach each leaf on the vine like this.

Then weave the thread through every top stitch to create the vine look.


Now do a satin stitch down half of the leaf and back up the other side to create a stem in leaf effect.

To go to the next leaf run the thread through the back stitches for a cleaner look.

Now for the daisy. on the inner circle come through the bottom of the hoop and back down to create a loop. Don’t pull this all the way through leave about two inches of play. Now come back up on the outer circle going through the loop. Pull the thread until the loop lays flat and then go over and back down to secure the petal.

With the Pansy I used the satin stitch to fill in the lines with three shades of purple.


Once all of our embroidery is done you can now rinse off your stencil. Fill up a container with warm, not hot, water. Submerge the fabric with the design until the adhesive starts to brake up.

Then rinse under running water to make sure all the stencil is removed.
Hang up your fabric to dry over night. (Or if you wish put it in the dryer)
Once it’s dry it’s time to cut everything out.

Start by sewing the two big rectangles together wrong sides out, leaving about a 1 1/2 inch space on one side to turn it out.

Do the same thing with the tails of the bow. Leaving About one and a half inches to turn it out make sure that the points at the bottom are nice and crisp do a topstitch over both the rectangle pieces and the ribbon tail pieces to clean up the look. Once everything is top searched, it is time to assemble the boat. Take the large rectangular piece and pinch it in the middle arranging the fabric that best suits the design you were going for. Once you have it gathered go ahead and do a stitch with a needle and thread through the pinched area to hold in place. Fold the tails of the ribbon in half once you find the middle section put that underneath the bone you have gathered. Tie into place with some string or embroidery thread. This part will not be visible.
Now, with the fabric piece that was labeled number two, you are going to do a single hemstitch, folding the edges over and stitching them in place. That way the edges will not unravel when you put the ribbon together. You will then fold this piece over the middle of the bow and tails that you have gathered stitching into place on the back of the bow.

Your bow is fully assembled. Now for the hair clip which we will be attaching with the hot glue gun. Be careful not to press too hard on the front of the bow when adhering the hair clip to the back you do not want hot glue seeping through the fabric and showing on the front.
Congratulations you now have a unique hand embroidered bow. The combinations of fabric and types of embroidery are endless. Let your creativity flow free in designing things that you are proud to wear. Until next time, Happy crafting!
Leave a Reply