This is the tutorial for the matching dog leash to the collar I will make in another post.When I bought the fabric I got enough to do multiple projects. So let’s jump right into it.
Here is what I will be using today. You can find all the hardware on Amazon for which I will provide the links.
Swivel clasp and D rings https://amzn.to/49T410z Amazon
Scissors https://amzn.to/4caO7Rg Amazon
Coats white thread https://amzn.to/3v2mHMr Amazon
Sewing pins https://amzn.to/430QiT6 Amazon

For the leash you will need a fabric strip five or six feet long (adjust length to suit your needs) and 1 1/2 inches wide. Taking your ruler mark 1 1/2 inch from the edge and then go back and line your ruler up with the lines you made and connect them down the length of the fabric. This will give you a clean and clear line to cut.

Marks made

Now connect them

Cut it out

Time to sew! Fold 1/4 of the edge over wrong sides facing each other. You can either pin this or fold as you sew.


Do this down the length of both sides. It will look like this.

Next fold the hemmed edges over onto themselves right side out. Make sure to line up the edges exactly for a clean look. You can pin this together or feed it slowly through your sewing machine making sure they stay together. I do not recommend this leash if your dog is over 8 lbs. If your dog is bigger I recommend widening the whole leash and adding a stabilizer in the middle before you fold it over and stitch it together.

Sew together as close as you can to the edge of the two sides.


Now flip it and sew down the other side. That way the leash holds its shape and stays flat. This will also give it more strength for when dog decides to really take off.

Both sides done.

Now time for the hardware. I am using half inch D ring and half inch revolving lobster clasp.
Take the lobster clasp and slide it onto the leash. Pull about three or four inches of leash through. We need enough to fold over and under itself with enough room to sew it securely. It should look like this.


Secure with a box and X stitch through the middle. And viola! Your clasp is attached.

Now for the hand loop. We will be adding a D ring right bellow the hand loop. This will be convenient to attach dough poo bags, treats, or ID tags. Go ahead and measure how big you want the loop to be to fit your hand and leave about four and a half inches of end out of the measurement. This will be where we put the D ring.

Go ahead and do a simple stitch by machine or by hand to keep the loop part stable while you add the D ring.
slide the D ring onto the end of the fabric like this.

Fold the end of the fabric under. This will sit between the leash part and where the D ring is. It should look like this.

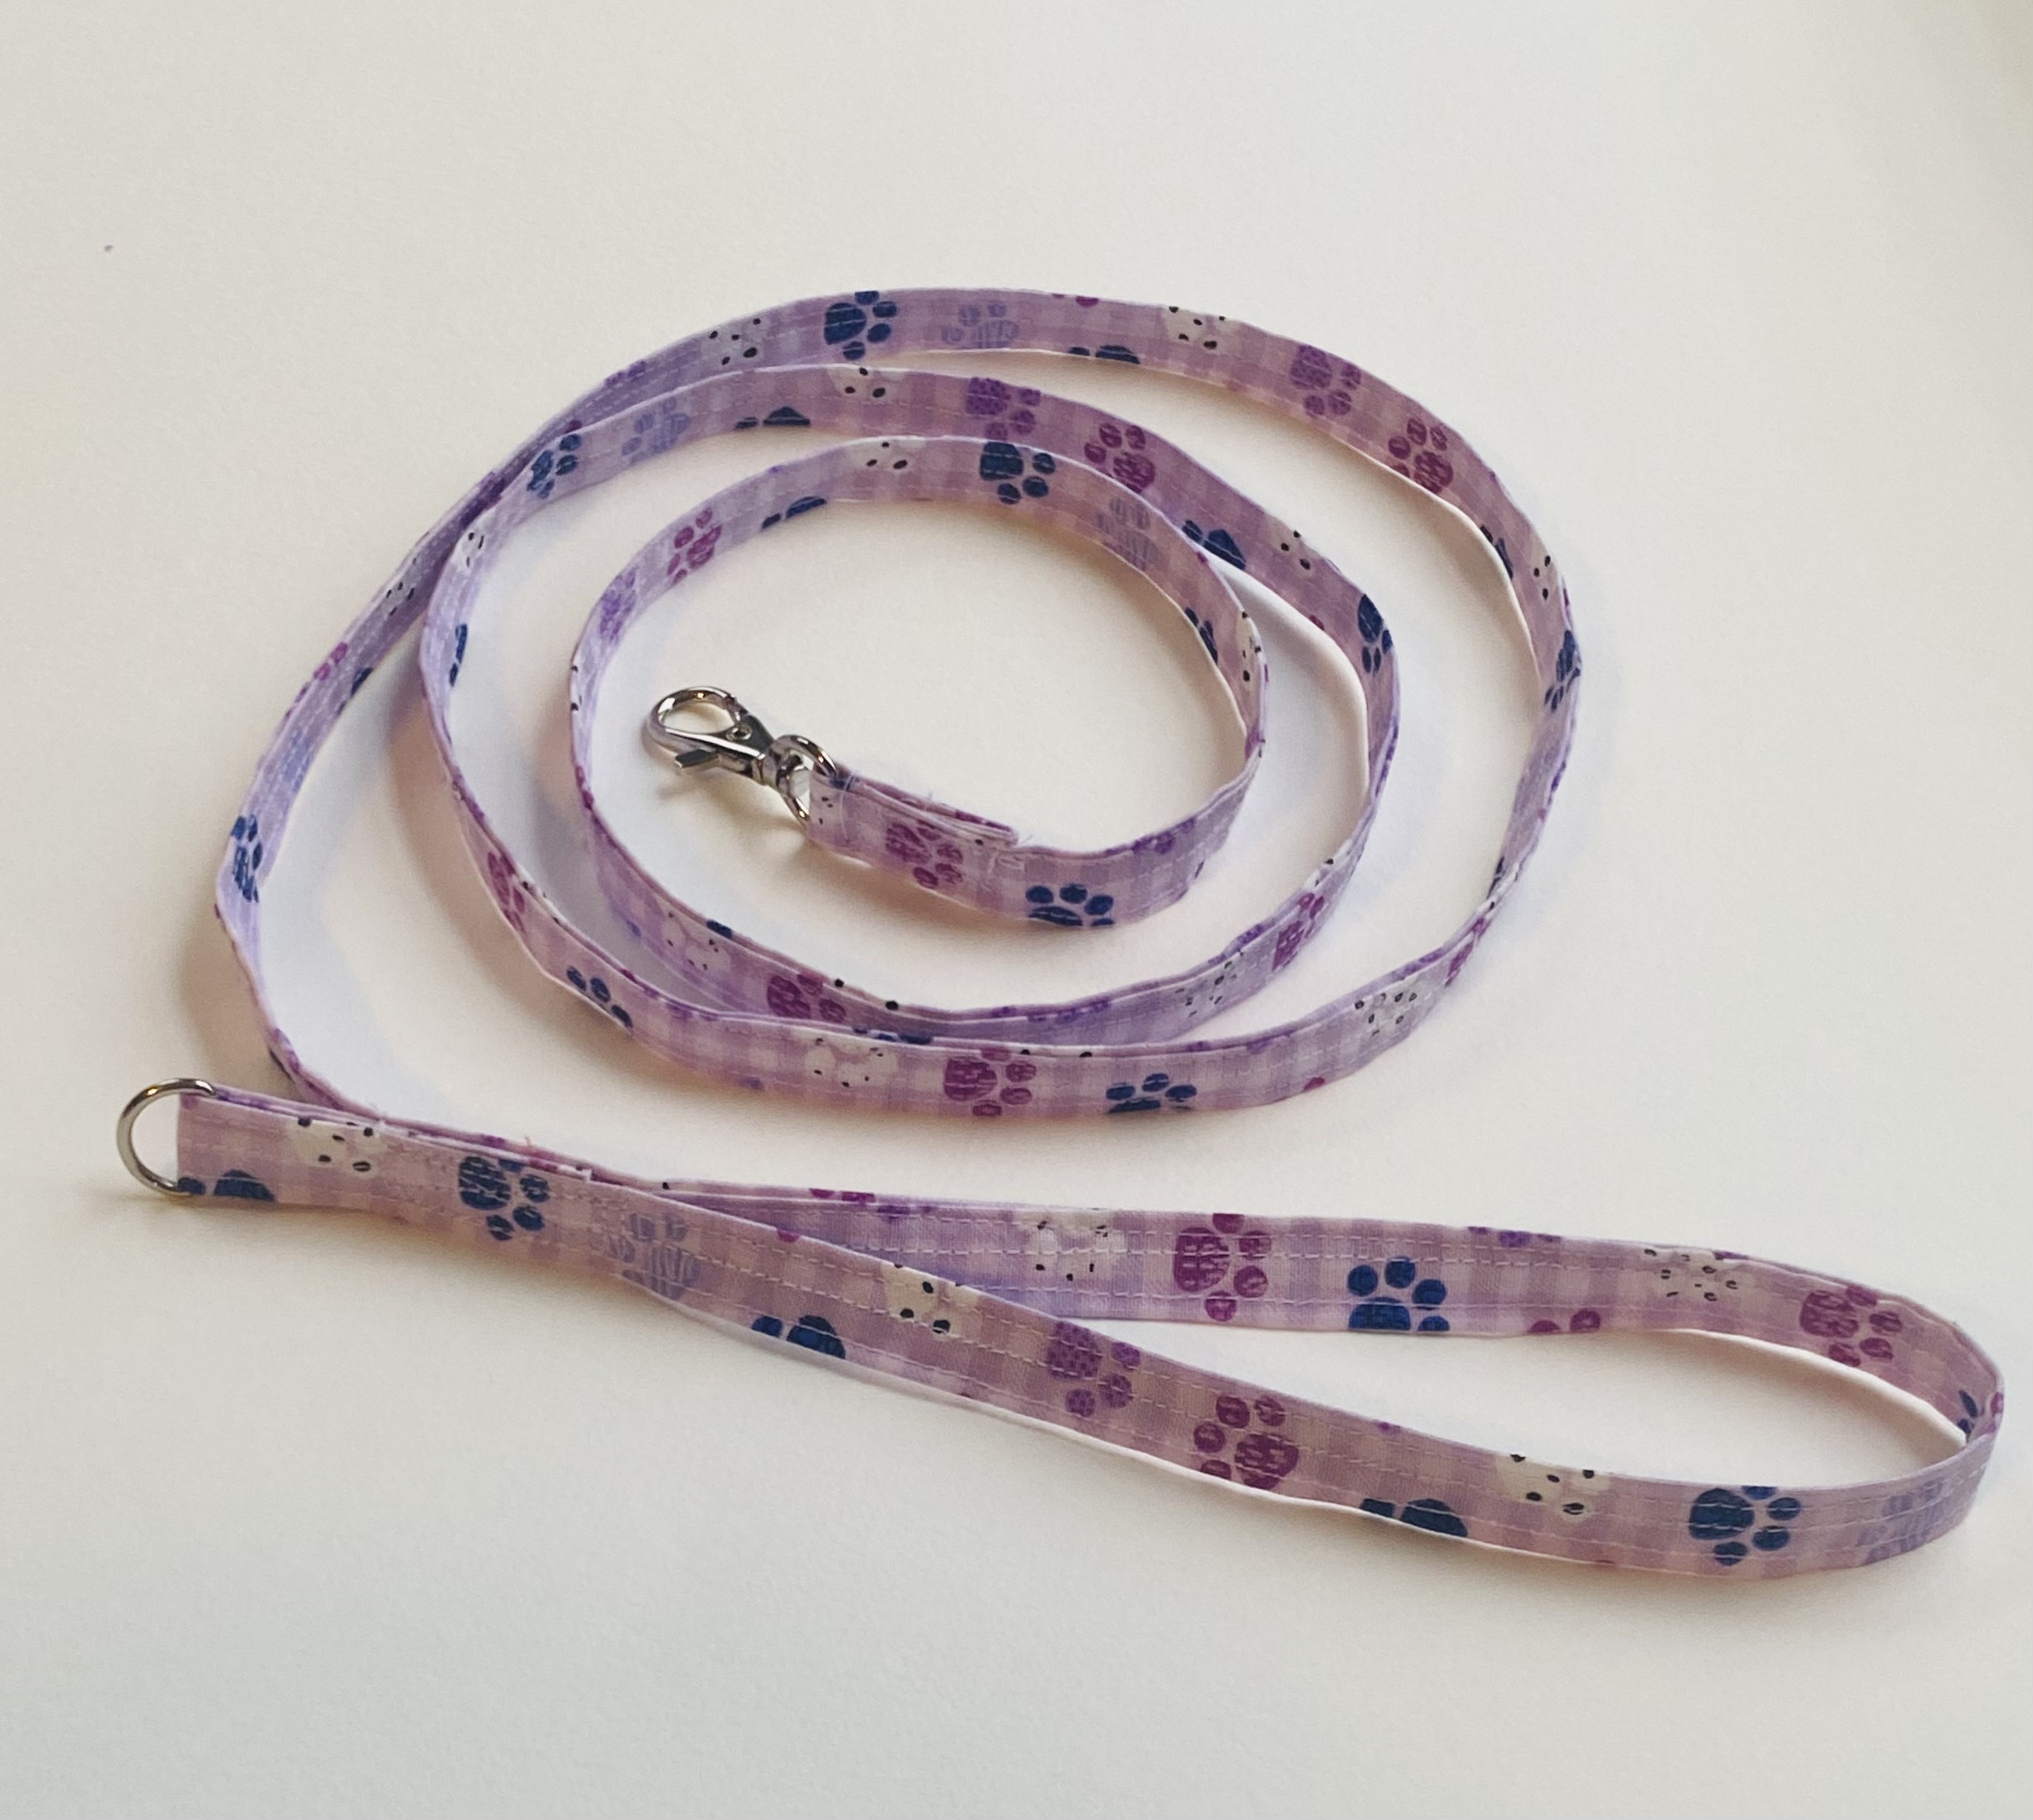
Now do a box stitch to secure. In this step you will include the part of the loop you stabilized previously to secure it all together. Yay! We did it. Now we have a cute leash that was handmade. Your pooch can walk in style and be proud of what their human made for them. And if you plan on making the matching collar the same width you can just add the length of the collar to your length measurements and then cut off the part for the collar and you’ve killed two birds with one stone.
Your new stylish leash for you to enjoy!


Leave a Reply